Posted on

A Guide To Making Your Eyes Pop When Wearing Your Mask


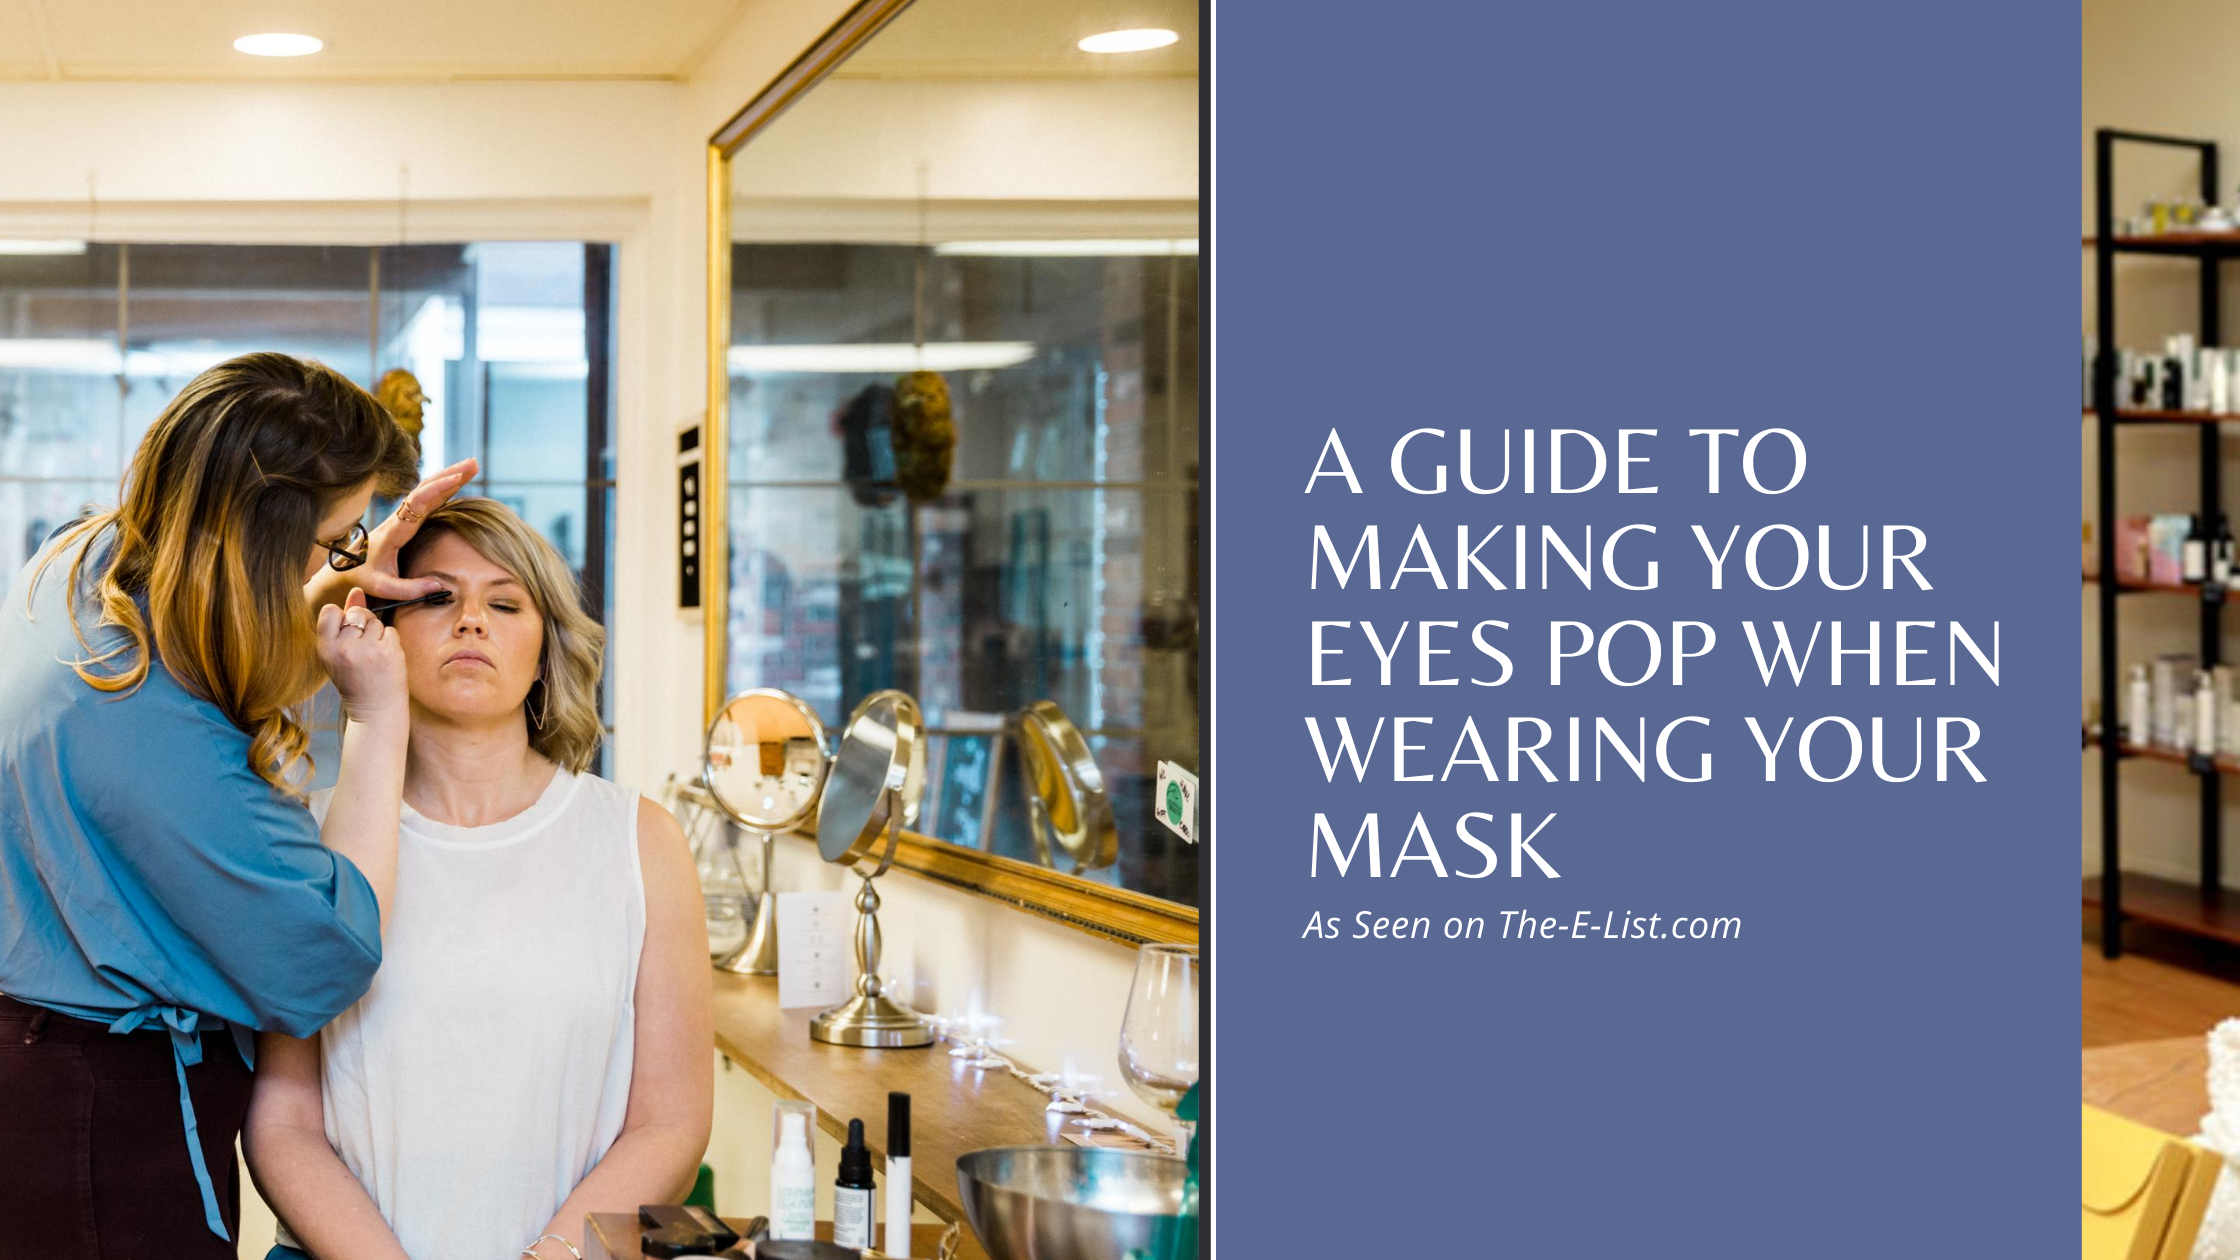
*This article was featured on the E-List!
By Rachel Postovoit, founder of Greenhouse Beauty

The eyes “have it”, they’re the window to the soul, according to Leonardo da Vinci, and currently- it’s all people see when you’re out and about. There have been waves of motivation when it comes to wearing makeup, when I talk to my clients- but in my book, I just feel a bit more perky when I’ve taken a few minutes to feel like myself.

 Ever feel like the “rules” of makeup can be contradictory and confusing?

Here is a breakdown of necessities and rules for you to make your eyes POP, without feeling like you need to agonize, gluing yourself to a Youtube tutorial, only to find out that you still haven’t mastered the smoky eye or cut crease of your dreams.

Don’t overthink, just follow the steps

1. Prime the eyelid. Your eyelids don’t have pores but they still do create oil. If you want the pigment you’re putting on your eyes to hold on and not create that ‘creased line’ halfway throughout the day, apply a bit of eyelid primer. 
Using a great eyelid primer means you don’t need to apply a lot, and it should provide a little “color correction” to reverse pink or blue tones on the eyelid. The Lily Lolo Eyelid primer has two colors to brighten and correct. If you’re not overly dark or red/purple, you can dip your finger or brush into both sides and smooth over from your lash line to underneath your brow. If it is changing your skin tone drastically, you’re using too much product. Less is more.

2. If you find that you are very prone to oily eyelids, or you’re going to be in the heat for a while, can’t hurt to take the extra precaution and sweep a bit of setting powder over the primer, before you get into any shadows.

3. You’ve probably seen those sets of brushes with 3 billion different brushes in the set. So overwhelming, right? I’m here to tell you that most likely- for your eye-makeup goals, you do not need that many brushes. My recommendation for expanding your skills and tools is this:
- one fluffy brush, great for blending/diffusing out color, and applying a taupey matte tone into the crease to define the eye 
- one flat wide pointed brush, similar to a flat concealer brush. These bristles are tighter, which means that more pigment will be picked up and it’s great for getting a color on to the lid, or applying a brighter shade into the inside corner of the eyes, or just under the brow bone.

4. Define the eye subtly by dipping your fluffy brush into a matte, medium-toned shade for your skin tone, and sweep that back and forth into your natural crease to open and lift the eye, visually. If you have a smaller eye, you can go a bit above the natural crease of your eye, but leave room between just under your brow and this tone. It’s as simple as rainbow motions back and forth over this natural crease, and if it’s “catching or skipping” in some areas, you can try little circles along the same path to blend it out.

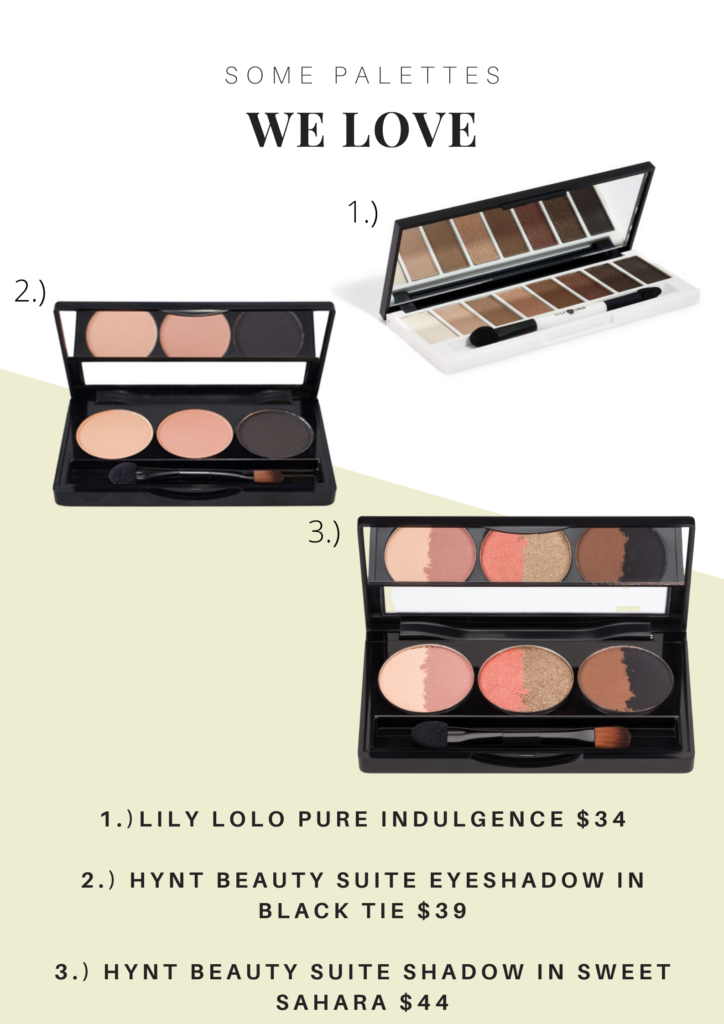
5. Apply a pretty shadow shade on your lid with that flat brush we talked about, this is what people will see when your eyes are open. This is when you can rely on those rules you’ve read about in every women’s magazine ever: contrasting tones make your eyes pop. Blues do well with coppers and browns, greens do well with purples and browns, brown-eyed-girls do will with blues, purples, browns, greens, really whatever tickles your fancy. Here’s the real rule: follow your heart- if a color resonates with you and makes you happy, don’t think about rule-breaking, think about filling up your happiness-gas-tank.

6. Time to line! If you are a bit more timid with liner, use powdered shadow as an eyeliner alternative! You can take a tight bristled brush with shorter bristles (I’m throwing another brush into the mix!!) or an angled liner brush and press in some darker shadow- a deep brown, black, blue, purple, or green into the lash “bed”, or where your lashes grow out of, on the top lash line. You can do this on the bottom as well, but I would personally use a shade lighter or less product. 
If you prefer pencil, use the same technique, I actually love using black on the top, and a deep brown, applied and blended with a tight-short-bristled brush on the bottom. The look is subtle and flattering. I highly recommend trying this out.

7. Lashes are next! Use the ancient torture device I know you all have, the dreaded: eyelash curler. The truth is, they’re amazing, and lift and open your eye with hardly any effort at all. If you think yours isn’t cutting it and that’s why you don’t touch it: well then, let’s get you a better one. The Lithe Lashes curler is gorgeous, effective, pocket-book friendly, and you’re going to want to use it when you see the difference that it makes!

8. Finally, apply your favorite mascara. Having worked at some big beauty stores, like Sephora, Bare Minerals, and Red Door Spa, I’ve tried a LOT of mascara. I’m not naturally blessed in the lash department, but every mascara I carry in-store has been affordable, effective, and impressive, without the junk. I can’t say enough about switching to a natural mascara. The ingredients make my lashes nicer because they’re not harsh, cheap or drying!

When all people are seeing is the top half of your face, I like to do brows next. Big brows are “in” but I always recommend letting your face guide your brow look, rather than the trends. The best brow for you is the one you naturally grew. For these secrets (as well as other makeup secrets), schedule a one on one with me at Greenhouse Beauty! I happily give away all of my makeup secrets because I want you to feel gorgeous. If you want a no-fuss, “finished” look- and you don’t want to dedicate to learning how to do your brows this Summer, start with the Eco-Brow defining gel, a clear brush-on miracle worker!

So we’ve established some makeup rules. 
I hinted at a secret rule that I live by in step 5. This is actually incredibly important, and I want you to take this rule to heart, more than any of the others (although the others are super helpful so if you can multitask, I’m here for that). 

Follow your heart and be open to trying new things and “playing”. Especially when it comes to makeup, but this is a “life” thing, too. I love to tell my clients: play with your makeup, not with your food. I think there is so much pressure on all of our plates at all times, and sometimes it’s coming from our internal pressure to “be” something. 

I want to tell you the only real “rule” of Greenhouse Beauty: we don’t talk smack about ourselves. Makeup is fun, but you are enough. Whether you have the motivation to put makeup on today or not.

Remember: appointment only shopping takes place on Wednesday’s and Saturday’s 10-1 with the option for curbside pickup, and with some flexibility. Stay tuned as this will open up in due time! As always, reach out and we will accommodate as best as humanly possible!

Posted on

5 Things I wish I Knew About Skin Growing Up


So hindsight is 20/20, this much we know. But the sins I’ve committed as far as skin care, have been truly nightmarish type scenarios. And I know I’m not the only one. As a gal who cut her own bangs after drinking wine a few weeks ago, let’s stick to skin sins, hair sins would be a much longer post.

Growing up, I can’t even think of what it was my mom used to wash her skin and moisturize with- all I can remember as far as skin remedies in the home were: Eucerin, Noxzema, and Jergens, none of which I would recommend for someone who is trying to minimize chemicals in their routine, as well as have real results.

So here it is, 5 things I wish I could get in a Time Machine and tell to my younger self:

1.) More is not always better (or: bite the bullet and get the one thing that will serve you vs. 5 things you hate.)

I used to purchase every spot treatment under the roof of Walgreens/CVS/Target just to see what would truly work for me. I would buy this type of product most often because it’s what I really wanted to work for my skin- “Please God, just ONE acne-free month, okay!?”  I would, however also buy many eye creams, face creams, masks, toners, whatever- if it was new, and enticing- I wanted it. New brands, marketing and packaging would get me every time- and my discretionary senses or label-reading had not kicked in yet. I still walk down the aisles, just to see what’s out there, but the pull of their promises don’t get me anymore. I flip the box and read the label. I think back to all that I’ve thrown away, drawers of forgotten product that couldn’t deliver, and that is WAY more overwhelming than buying one pricier item that will work. 

Quality is never an accident; it is always the result of high intention, sincere effort, intelligent direction and skillful execution; it represents the wise choice of many alternatives.
– William A. Foster

2.) Oil is your friend (really.)

My Mom still tries to convince me that when I have a breakout it’s because of too much oil. Love ya Mom, but nothing’s that cut and dry.

Firstly: your skin produces oil, all on its’ own, as a means to care for the skin. If your skin is dry, it’s going to pump out some oils because your body can’t make water.

For perfectly hydrated skin, you ideally want a healthy balance of water + oil. What happens is, a dehydrated skin will produce more oil to try to get nourished, and then you have the (probably relatable) feeling of: “no matter what I do my skin is oily, I’ve even stopped using moisturizer on my T-zone.”

Well, friend: you’ve confused the heck out of your skin, and solved nothing. When you give your skin the oils that it needs, along with water (H20 internally, and moisturizer externally), your skin will breathe a sweet sigh of relief and the sebum (oil) production won’t be in a state of over-activity.

The key to getting this right, is to use the proper amount: 2-3 drops, on freshly washed skin, or you can use a spray toner to get the best benefits and have it sink in super quickly. What I’m talking about is your skin getting:
Q-U-E-N-C-H-E-D. For real. Like, really, really.

For straight forward hydration for all skin types Kahina Giving Argan Oil($15-$82):


For reduced dryness, increased radiance and bouncier skin: INtelligent Nutrients Renewing Oil Serum ($72):


For the ultimate anti-aging blend of Ayurvedic repairing and regenerative oils,

Dr. Alkaitis Organic Ageless Facial Elixir ($150):

3.) Picking your skin spreads.

So, my Dad used to tell me this. A lot. I didn’t fully grasp the concept though, because I thought it was something I could still manage. I would pick at my skin, and then take a toner with straight up witch hazel or un-cut Tea Tree Oil, and think I was fine. What I didn’t realize until I worked at a spa, was that the spreading wasn’t just on the skin- it was the pores next to the pore I was toying with that were likely to get inflamed, and contract whatever bacteria that ailed the first pore. Stopping picking.. is hard, and I can’t say I’m entirely successful yet. But the thing that has helped the most- is these acne stickers that suck out whatever is inside of a pimple that has a head (or maybe you did toy with it and it needs help healing..) Boost your skin confidence with these- they work.


4.) Don’t skimp on cleanser, makeup wipes are only 1/2 a wash!

I always hear people say that if you’re going to skimp or spend less on a portion of your skin care regimen, do it on the cleanser, because you wash it off. A proper cleanse, will set you up for success with the next steps in the regimen, so skimping is not going to work in your favor! Also, if that thought is real, we could skimp on shampoo, body wash, any thing that’s supposed to clean? I don’t think so!

A lot of us give our cleanser a big job: to take off makeup, AND remove dirt, bad oils, bacteria and whatever else we were exposed to in the day. This is just too much for a cheap cleanser to do!

If you want a multi-tasker: oil cleansers will remove all of your makeup and cleanse in one fell swoop. If you are a makeup wipe gal, invest in a makeup wipe with ingredients that serve, rather than strip the skin.

For the best results from your cleanser, wash for 30-60 seconds. Give the cleanser the time to really do whatever it’s designed to do. If you’re like me and you want to feel extra super-duper fresh, you can employe the “double cleanse” method, and cleanse with a makeup removing wash (such as an oil cleanser, or cream cleanser), and then wash a second time with a cleansing gel. Instead of doing a second cleanse, you can opt for a toner to make sure every bit of makeup is off your face so you can rest assured before you go in with your hydrators, that your skin is clean.

If you love a super thorough cleanse, this Fantastic Face Wash ($12-$28) is the stuff of dreams:


If balancing is more of your goal, Kahina Giving Beauty has you covered ($45):

If ultra hydration is more of what you’re aiming for, Nao Ayurveda  Ojas Cleanser will make you glow in just one use ($30):

5.) If you’re skipping SPF, you might as well throw all your expensive skin care products in to the bin.

I mean it. Get out the calculator and check how much all of your goodies are worth. They’re not cheap, and when you want a product that will work hard and give results? Well, you’re shelling out some hard earned dollars, with full confidence that it’s going to work. And? It will!

But when you roast, toast, shake n’ bake or whatever else in the sun without protection, the damage is going to outweigh the good.

Get on it, sister.

If you have a fear of sunscreen breaking you out, there’s options– options like Farizad’s Veil, that you can mix in with an oil of your choice ($34).


or this delightfully lightweight every day SPF 18 from Ursa Major VT ($54):

That is IT! Are there any things you wish you knew regarding skin when you were younger? Remember younger can mean yesterday, it’s okay to learn new things all the time!!!

Hope this struck a chord in you.

Be blessed!

Rachel